

Hello, Welcome back. Glad that you’re here.
We're building a Movie App with the best coding practices and tools. In the previous tutorial, we worked on the movie details screen top part where we had the poster, below that we had the title and description and overview of the movie.
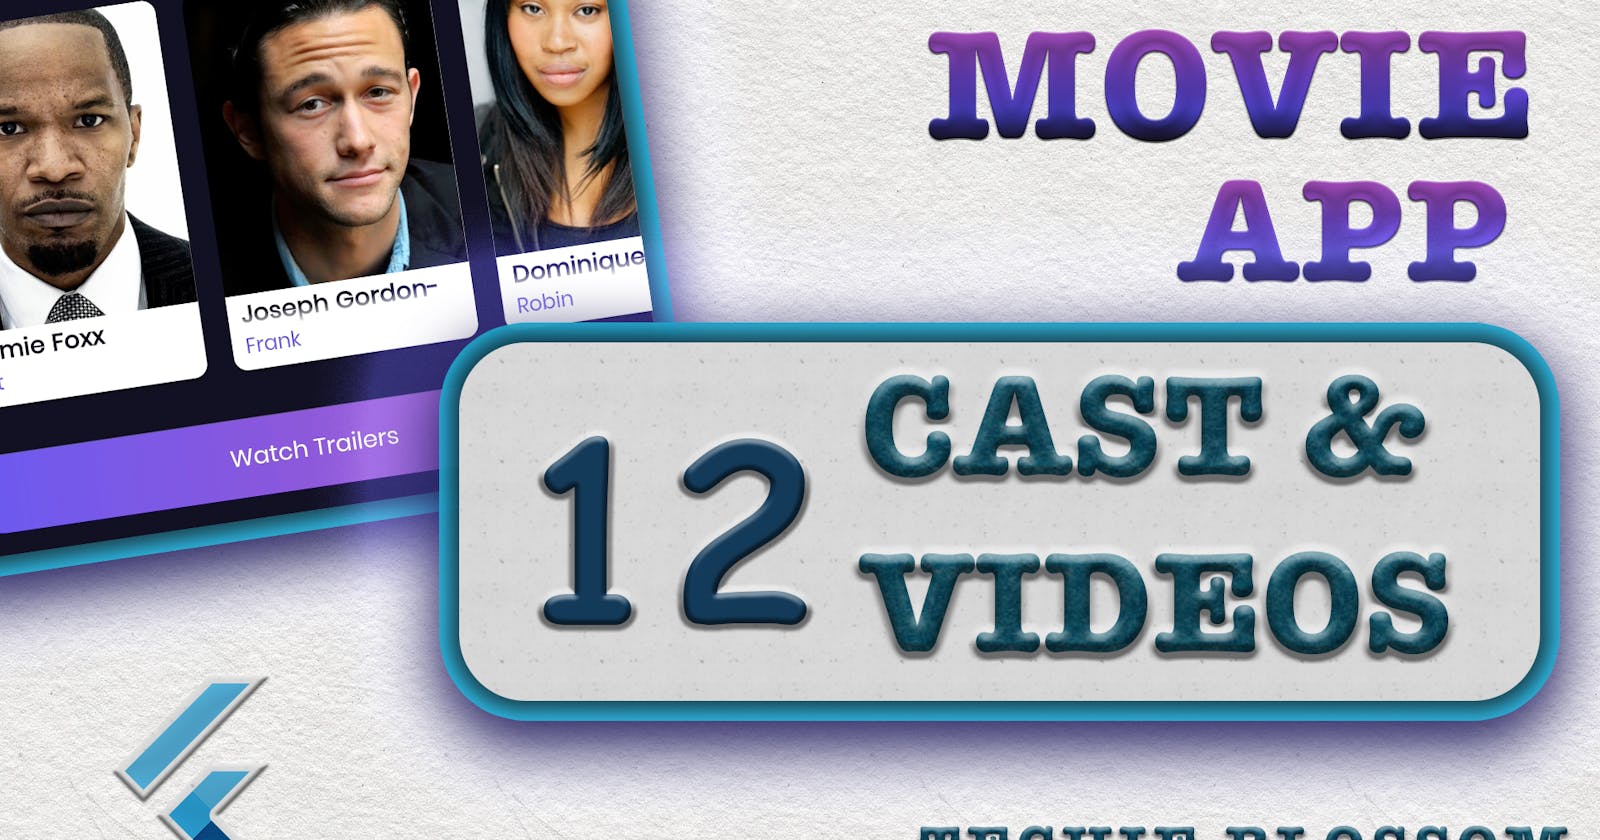
In this tutorial, we will work on the cast list and videos related to the movie.
Let's start coding.
Domain Layer
Whenever we have a new widget to create, we should first think of the data that it will display. As in the case of Cast List, we will show the cast and crew who worked on that movie. As you already know from our previous videos, the domain layer consists of entities, abstract repository, and usecases.
Entity (Request & Response)
From Data Source, we will get the cast and crew list by hitting an API bypassing movieId in the request. But we need only cast in our UI, so we will create only CastEntity and this entity must not have all the fields. An entity should only have the fields that are required to show in UI or that are part of some further API calls. For request, we have created MovieParams already in the previous tutorial.
So, we need to only create a response entity.
In the domain/entities folder, create a new file cast_entity.dart:
class CastEntity extends Equatable {
  //1
  final String creditId;
  //2
  final String name;
  //3
  final String profilePath;
  //4
  final String character;

  CastEntity({
    @required this.creditId,
    @required this.name,
    @required this.profilePath,
    @required this.character,
  });

  @override
  List<Object> get props => [creditId, name];
}
- In TMDb API each cast and crew have a credit ID
- Declare the name of the cast
- Cast will have a profile image which we will show.
- We will also have a character that the cast has played in that movie.
- Declare all fields as required and add the props method as well.
Repository
When we are ready with the request and response entity, we can create an abstract method in the abstract repository.
In the domain/repository folder, add a new method:
Future<Either<AppError, List<CastEntity>>> getCastCrew(int id);
- Here, we create a method that takes in an id and returns us with either an app error or a success object of
List<CastEntity>.
UseCase
Now, let's make a use case that invokes this method. If you have seen the previous tutorial, we are using usecases only in the Blocs.
Create a new use case in the domain/usecases folder:
//1
class GetCast extends UseCase<List<CastEntity>, MovieParams> {
  final MovieRepository movieRepository;

  GetCast(this.movieRepository);

  //2
  @override
  Future<Either<AppError, List<CastEntity>>> call(MovieParams params) async {
    //3
    return await movieRepository.getCastCrew(params.id);
  }
}
- Since we have already created some usecases before, so copy any one of them and change the name to
GetCast. The important thing here is that you define the response type and request type asList<CastEntity>andMovieParamsrespectively. - The
callmethod works on these types, so change them as well with correct types. - Here, you'll make the call to
getCastCrewinstead ofgetMovieDetail.
We're done with the domain layer that easy and fast. Let's make the API call now via Data Layer.
Data Layer
If you open the data folder, you'll see errors in the repository folder. That's because we haven't implemented the method that we declared in the abstract repository class. Before resolving the error, let's first create the model class.
Model
A model class is the response model, that holds the parsed JSON from the API. If you remember, we use https://javiercbk.github.io/json_to_dart/ for creating the model class from JSON.
Let's copy the JSON for cast and crew. Head on to https://developers.themoviedb.org/3/ and under MOVIES select Get credits . On the right side, you can see the details. Put the API_KEY and any movie id. Hit the SEND REQUEST button and copy the response.
Paste this response in JSON2DART tool. Copy the generated code in a new file cast_crew_result_data_model.dart:
The file is too long, please take it from Repo.
We have to make some modifications because sometimes based on JSON, the JSON2DART tool is unable to create proper subclasses. Make all the fields as final and make the fromJSON method as factory method now. You can refer to the DataSources tutorial for similar steps.
While you're doing these code changes, you will also extend the model with the entity and use the super constructor to fill in values in the entity instance.
Repository Implementation
Now, you can add the implementation of the repository method in movie_repository_impl.dart.
//1 & 3
@override
Future<Either<AppError, List<CastModel>>> getCastCrew(int id) async {
  try {
    //2
    final castCrew = await remoteDataSource.getCastCrew(id);
    return Right(castCrew);
  } on SocketException {
    return Left(AppError(AppErrorType.network));
  } on Exception {
    return Left(AppError(AppErrorType.api));
  }
}
- Add the
asynckeyword in the method. - You'll create the
getCastCrew()from the data source, which we will create in a moment. - Next, as we have done for other methods to maintain a level of abstraction, use the model instead of an entity.
DataSource
Now, we are at the final part of making the API call.
In the movie_remote_data_source.dart, add the abstract method and the implementation:
//1
Future<List<CastModel>> getCastCrew(int id);
//2
@override
Future<List<CastModel>> getCastCrew(int id) async {
  //3
  final response = await _client.get('movie/$id/credits');
  //4
  final cast = CastCrewResultModel.fromJson(response).cast;
  print(movie);
  return movie;
}
- Add declaration in the abstract class
MovieRemoteDataSource. - Implement the method in
MovieRemoteDataSourceImpland addasync. - To fetch the movie details, you have to append
movie/$id/creditsto theBASE_URL. - Use
fromJson()ofCastCrewResultModelto create the model from JSON and get the cast only from it. Finally, return theCastCrewResultModel.
Business Logic
In this case, we can create a Bloc even before we have our UI. Because, Bloc only depends on making API calls, and we have a use case already defined. Let's create a bloc.
Cast Bloc
Create a bloc with name cast. Add a new event in the cast_event.dart:
//1
class LoadCastEvent extends CastEvent {
  final int movieId;

  LoadCastEvent({@required this.movieId});

  @override
  List<Object> get props => [movieId];
}
- Declare
LoadCastEventclass extending theCastEvent. Declare a final fieldmovieIdand override theprops()method.
Now, in cast_state.dart add some states
//1
class CastError extends CastState {}

//2
class CastLoaded extends CastState {
  final List<CastEntity> casts;

  CastLoaded({@required this.casts});

  @override
  List<Object> get props => [casts];
}
CastErrorfor handling errors when returned from API or network.CastLoadedwill be emitted when the movie detail API has responded with a successList<CastEntity>object. As you will store the list of cast, declare the final field and add it inpropsas well.
Now, handle the event and dispatch the state in the cast_bloc.dart:
//1
final GetCast getCast;

//2
CastBloc({
  @required this.getCast,
}) : super(CastInitial());

//3
@override
Stream<CastState> mapEventToState(
  CastEvent event,
) async* {
  if (event is LoadCastEvent) {
    Either<AppError, List<CastEntity>> eitherResponse =
        await getCast(MovieParams(event.movieId));

    yield eitherResponse.fold(
      (l) => CastError(),
      (r) => CastLoaded(casts: r),
    );
  }
}
- As you need to make an API call using the use case, declare the final field of
GetCast. - Allow it to be passed it in the constructor also. We will declare all dependencies things in get_it.dart in a while.
- Handle the event in
mapEventToState. When you have an event as a load event, make the API call and store the response in theEithertype object. Use thefoldoperator to yieldCastErrororCastErrorstate with a list of cast.
Dependency Injection
In MovieDetailScreen, we will first fetch movie details and then load the cast list and videos list. So to that, in the MovieDetailBloc we will have to fire LoadCastEvent for cast bloc. To get the instance of CastBloc in MovieDetailBloc, we will declare CasBloc as a dependency for MovieDetailBloc.
//1
final CastBloc castBloc;

MovieDetailBloc({
  @required this.getMovieDetail,
  @required this.castBloc,
}) : super(MovieDetailInitial());
- Declare the final field for
CastBlocand make it the required field.
We have declared a new use case and a bloc, let's put them in get_it.dart and update the existing definition of MovieDetailBloc:
//1
getItInstance.registerFactory(
  () => MovieDetailBloc(
    getMovieDetail: getItInstance(),
    castBloc: getItInstance(),
  ),
);

//2
getItInstance.registerFactory(
  () => CastBloc(
    getCast: getItInstance(),
  ),
);

//3
getItInstance.registerLazySingleton<GetCast>(() => GetCast(getItInstance()));
- Add
castBlocdependency inMovieDetailBloc. - And below all blocs declare a dependency for
CastBloc. - Just like others, below all use cases, declare one more
GetCast.
Screen
Cast Title
In the Movie Detail Screen, below the overview, we will show the Cast heading and horizontal list of cast. Let's first add the cast heading.
In
MovieDetailScreen, below overview, add aTextwidget wrapped withPadding:
//1
Padding(
  padding: EdgeInsets.symmetric(horizontal: Sizes.dimen_16.w),
  //2 && //3
  child: Text(
    TranslationConstants.cast,
    style: Theme.of(context).textTheme.headline6,
  ),
),
- Add padding from left and right.
- Use the
Textwidget to show the cast text. We haven't declared the text for both the language yet. Apply theheadline6. - Open TranslationConstants and add cast constant. Also, open
en.jsonandes.jsonand add the respective cast texts.
Run the app and see the 'cast' as the title. We had declared the cast as 'Cast' in en.json so use t(context) to use the translation.
TranslationConstants.cast.t(context),
Now we see the translated string.
There is very little spacing between the overview and the cast title. Let's add some padding. If we give top and bottom padding to the overview only we can have spacing for the cast title as well.
Padding(
  padding: EdgeInsets.symmetric(
    horizontal: Sizes.dimen_16.w,
    //1
    vertical: Sizes.dimen_8.h,
  ),
  child: Text(
    movieDetail.overview,
    style: Theme.of(context).textTheme.bodyText2,
  ),
),
- Add vertical padding for the overview.
When you reload the app, there is sufficient space between overview and title.
Cast List
Let's add the cast in the horizontal list view.
First, we will introduce CastBloc on the screen, then use MultiBlocProvider as we have 2 blocs now.
CastBloc _castBloc;

//1
_castBloc = _movieDetailBloc.castBloc;

//2
_castBloc?.close();
- Take the instance of
_castBlocfrom_movieDetailBloc, because we want to keep the instance of_castBloclinked to_movieDetailBloc. As we will call cast list when movie detail is fetched. If the movie detail itself is failed, we won't go for the remaining API calls. - Close the bloc in the dispose method.
Now the screen will be increased in the length, so add a
SingleChildScrollViewfor theColumninMovieDetailScreen:
return SingleChildScrollView(
  child: Column(
    ...
    ...
    ...
  ),
);
Cast Widget
Now, below the cast heading, add a CastWidget, that we will create now under journeys/movie_detail folder:
//1
class CastWidget extends StatelessWidget {
  @override
  Widget build(BuildContext context) {
    //2
    return BlocBuilder<CastBloc, CastState>(
      builder: (context, state) {
        if (state is CastLoaded) {
          return Container();
        } else {
          return const SizedBox.shrink();
        }
      },
    );
  }
}
- This will be a stateless widget.
- Use
BlocBuilderand handle theCastLoadedand rest all the states.
Before we move with the cast widget, let's dispatch the event to give us the cast list.
In
MovieDetailBlocdispatch theLoadCastEventafter the movie details are fetched and yielded.
//1
castBloc.add(LoadCastEvent(event.movieId));
- This will fetch the cast list for the movie and yield
CastLoadedthat we are listening to inCastWidget.
Add
ListViewinCastWidget:
Container(
  //1
  height: Sizes.dimen_100.h,
  child: ListView.builder(
    //2
    shrinkWrap: true,
    scrollDirection: Axis.horizontal,
    //3
    itemCount: state.casts.length,
    itemBuilder: (context, index) {
      final castEntity = state.casts[index];
      return Container();
    },
  ),
)
- When we are working on a vertical layout and using a widget whose height is not bounded, we should use a fixed height for this. Luckily, we have used
ScreenUtilthat can scale according to the screen height. I don't recommend giving height to every widget, this is a rare case. - Give
shrinkWrapand give horizontal direction for the listview. - Provide the item count to the list view and give the item builder. Fetch the cast for a specific index.
Add the image now in the card widget. Before that, update the import statement in
MovieDetailScreen:
//1
Container(
  height: Sizes.dimen_100.h,
  width: Sizes.dimen_160.w,
  //2
  child: Card(
    elevation: 1,
    margin: EdgeInsets.symmetric(
      horizontal: Sizes.dimen_8.w,
      vertical: Sizes.dimen_4.h,
    ),
    //3
    shape: RoundedRectangleBorder(
      borderRadius: BorderRadius.all(
        Radius.circular(Sizes.dimen_8.w),
      ),
    ),
    //4
    child: Column(
      crossAxisAlignment: CrossAxisAlignment.start,
      children: <Widget>[
        //6
        Expanded(
          //7
          child: ClipRRect(
            borderRadius: BorderRadius.vertical(
              top: Radius.circular(8.w),
            ),
            //5
            child: CachedNetworkImage(
              height: Sizes.dimen_100.h,
              width: Sizes.dimen_160.w,
              imageUrl:
                  '${ApiConstants.BASE_IMAGE_URL}${castEntity.posterPath}',
              fit: BoxFit.fitWidth,
            ),
          ),
        ),
      ],
    ),
  ),
)
- Use
Containerwith width and height. - We need some elevation so use
Cardhere. - Add some rounded corners to the card.
- We will have an image on top followed by name of the cast and character.
- Use
CachedNetworkImagewith the image URL ofposterPath. - Give as much space available to the image by using
Expanded. - When we will introduce the bottom 2 widgets, the image will move up and then we will need to give top rounded corners to the image.
Now, add the name and character as well to the cast widget below the
Expandedwidget:
//2
Padding(
  padding: EdgeInsets.symmetric(
    horizontal: Sizes.dimen_8.w,
  ),
  //1
  child: Text(
    castEntity.name,
    overflow: TextOverflow.fade,
    maxLines: 1,
    style: Theme.of(context).textTheme.vulcanBodyText2,
  ),
),
//4
Padding(
  padding: EdgeInsets.only(
    left: Sizes.dimen_8.w,
    right: Sizes.dimen_8.w,
    bottom: Sizes.dimen_2.h,
  ),
  //3
  child: Text(
    castEntity.character,
    overflow: TextOverflow.ellipsis,
    maxLines: 1,
    style: Theme.of(context).textTheme.caption,
  ),
),
TextStyle get vulcanBodyText2 => bodyText2.copyWith(
  color: AppColor.vulcan,
  fontWeight: FontWeight.w600,
);
- Add the name with
vulcanBodyText2andmaxLinesas 1. Givefadeoverflow, so that when the text is too long, it is faded from the right. Add thevulcanBodyText2in theme_text.dart file as well. - Give some padding from left and right.
- Add the character now and use ellipsis this time for the character. Give it
captionstyle.
Trailers
After the cast, we will work on Movie Trailers. We will show a button Watch Trailers if there are any trailers for that movie. On tap of that button, we will navigate to the next screen showing the first video that can be watched and all videos in a list. When you tap on another video, it automatically starts. If there are not trailers for that movie, we won't show the Watch Trailers button.
Similar to what we did for the cast, we will do for trailers. These are the basic steps -
- Domain Layer - Request & Response Model, Method in abstract repository and usecase
- Data Layer - Model, Repository Implementation, and Datasource
- Presentation Layer - Add a new Bloc
- Dependency Injection
Not repeating the steps in this tutorial, you can always refer to the GitHub repository. One thing that you must know about the response of the video API is that the TMDb uses youtube videos so we will get key as the youtube video id and we will use that.
After you are done with the above 4 steps, we will work on the button visibility.
Get Videos Button
We will add a button below the cast list if there is a list of videos in the response. For that, we will use a bloc in the movie detail screen. First, add the video bloc in the movie detail bloc.
Open movie_detail_bloc.dart:
//1
final VideosBloc videosBloc;

//2
@required this.videosBloc

//3
videosBloc.add(LoadVideosEvent(event.movieId));
- First, add the
VideosBlocfield. - Then, make it a required parameter.
- At last, dispatch the
LoadVideosEventwhen you have yielded theMovieDetailLoaded.
Now, declare the bloc in
MovieDetailScreen:
//1
VideosBloc _videosBloc;

//2
_videosBloc = _movieDetailBloc.videosBloc;

//3
_videosBloc?.close();

//4
BlocProvider.value(value: _videosBloc)
- Declare the bloc below
CastBloc. - Initialize the
_videosBlocininitState. - In the
disposemethod, close the_videosBloc. - Add the bloc in the multiprovider with the other blocs.
Videos Screen
Now that we have a button for videos, on tap of this button we will navigate to the videos screen. We will use the youtube plugin for playing youtube videos.
youtube_player_flutter: ^7.0.0+6
Create a new folder watch_video where we will put the screen file and arguments file in this folder. The arguments file will act as a companion for the screen. The screen depends on these arguments.
class WatchVideoArguments {
  //1
  final List<VideoEntity> videos;

  WatchVideoArguments(this.videos);
}
//1
class WatchVideoScreen extends StatefulWidget {
  //2
  final WatchVideoArguments watchVideoArguments;

  const WatchVideoScreen({
    Key key,
    //3
    @required this.watchVideoArguments,
  }) : super(key: key);

  @override
  _WatchVideoScreenState createState() => _WatchVideoScreenState();
}

class _WatchVideoScreenState extends State<WatchVideoScreen> {
  @override
  Widget build(BuildContext context) {
    return Container();
  }
}
- Create a Stateful widget this time as we will have a controller for youtube videos. We will need
initStateanddisposemethods. - Declare the final field of arguments that will be passed to the screen.
- Make this as
requiredbecause without the arguments this screen is impossible to build.
Let's add the controller as well to the screen:
List<VideoEntity> _videos;
YoutubePlayerController _controller;

@override
  void initState() {
    super.initState();
    //1
    _videos = widget.watchVideoArguments.videos;
    //2
    _controller = YoutubePlayerController(
      initialVideoId: _videos[0].key,
      flags: YoutubePlayerFlags(
        autoPlay: true,
        mute: true,
      ),
    );
  }

  @override
  void dispose() {
    //3
    _controller?.dispose();
    super.dispose();
  }
- Store the videos in the local variable.
- Define
YoutubePlayerControllerwith the initial video as the first video in the list. SetautoPlayandmuteoptions as true for obvious reasons. - Dispose of the
_controllerin thedisposemethod.
Now, open the watch video screen when we tap on the Watch Trailers video:
onPressed: () {
  Navigator.of(context).push(
    MaterialPageRoute(
      //1
      builder: (context) => WatchVideoScreen(
        watchVideoArguments: WatchVideoArguments(_videos),
      ),
    ),
  );
},
- Pass in the
WatchVideoArgumentsobject in theWatchVideoScreen.
You'll see a white screen when you tap on the Watch Trailers button, so now we will use Scaffold instead of Container in the build() of WatchVideoScreen.
Scaffold(
  //1
  appBar: AppBar(
    title: Text(
      TranslationConstants.watchTrailers.t(context),
    ),
  ),
  //2
  body: YoutubePlayerBuilder(
    //3
    player: YoutubePlayer(
      controller: _controller,
      aspectRatio: 16 / 9,
      showVideoProgressIndicator: true,
      progressIndicatorColor: Colors.amber,
      progressColors: ProgressBarColors(
        playedColor: Colors.amber,
        handleColor: Colors.amberAccent,
      ),
    ),
    //4
    builder: (context, player) {
      return Column(
        children: [
          player,
        ],
      );
    },
  ),
)
- Use
Sacffoldand give theAppBarproperty to it with the same text as that of the button. - In the
bodyyou can useYoutubePlayerBuilderbecause this gives us the capability to rotate the screen when you want to see the video in landscape mode. - In the
playeryou can provide properties like_controller,aspectRatio, colors of progress bars, and many more that you can explore as per the requirement. - The
builderwill take in the player itself and will play the video assigned. We are putting the player inColumnto have a list of all videos as a list below the playing video.
Now, stop and re-run the app and you'll see that the first video is auto-playing. Play with it.
Next, we will populate all the videos:
//1
Expanded(
  child: SingleChildScrollView(
    child: Column(
      children: [
        //2
        for (int i = 0; i < _videos.length; i++)
          Container(
            height: 60.h,
            padding:
                EdgeInsets.symmetric(vertical: Sizes.dimen_8.h),
            child: Row(
              children: <Widget>[
                //3
                GestureDetector(
                  onTap: () {
                    _controller.load(_videos[i].key);
                    _controller.play();
                  },
                  //4
                  child: CachedNetworkImage(
                    width: Sizes.dimen_200.w,
                    imageUrl: YoutubePlayer.getThumbnail(
                      videoId: _videos[i].key,
                      quality: ThumbnailQuality.high,
                    ),
                  ),
                ),
                //5
                Expanded(
                  child: Padding(
                    padding:
                        EdgeInsets.symmetric(horizontal: 8.w),
                    child: Text(
                      _videos[i].title,
                      style:
                          Theme.of(context).textTheme.subtitle1,
                    ),
                  ),
                ),
              ],
            ),
          ),
      ],
    ),
  ),
)
- Below the
player, use theExpandedwidget to put all the all videos. Then as achildofExpandeduseSingleChildScrollViewbecause the list of videos can be big. - Use the
forloop to iterate through all the videos. Use 0 as the initial index because when you are playing the 2nd video and want to play the 1st video again, you need that video in the list. - Use
GestureDetectorso that we can play the video by using_controller. - We will get the thumbnail from the
YoutubePlayerplugin itself, so useCachedNetworkImageto show the image. - At last, show the title of the video in the remaining space.
Run the app and switch between various videos.
By this, we have come to an end for this tutorial. In the next tutorial, we will work on the search feature. I hope you learned something or others in this tutorial. See you in the next tutorial. Thanks for reading.